Day 24 — JupyterHub and Airflow on microk8s
Some days ago I set up minikube to put together a small demo (or at least some screenshots) for a talk. After a minikube start, it has been taking a long time to come up for me (maybe because of my smol laptop), and it also throws some errors before it finally comes up. Till now, I haven't bothered installing anything on it just because of these long wait times.
Nemo had mentioned that microk8s is a lot better than minikube, and has perfected the developer experience. Today I gave it a try and found those words to be true! In this post, I'll list down the steps (for future me) to set up working JupyterHub and Airflow instances on microk8s.
microk8s is very easy to install on Ubuntu (No wonder! Both tools come from Canonical):
  $ sudo snap install microk8s --classic
  microk8s v1.19.0 from Canonical* installed
It comes pre-packaged with kubectl which you can invoke with microk8s kubectl. Also, you don't need to install helm separately. You can just enable it!
$ microk8s enable helm3
After enabling helm, I followed the steps in the awesome Zero to JupyterHub docs to set up JupyterHub.
The first step is to add the repo for the official JupyterHub helm chart:
  $ microk8s helm3 repo add jupyterhub https://jupyterhub.github.io/helm-chart/
  "jupyterhub" has been added to your repositories
And update all the repos to get the latest chart versions.
  $ microk8s helm3 repo update
  Hang tight while we grab the latest from your chart repositories...
  ...Successfully got an update from the "jupyterhub" chart repository
  Update Complete. ⎈ Happy Helming!⎈
The second step is to install the chart on your Kubernetes cluster using helm. The docs mention a --create-namespace option but since that didn't work for me, I had to create the namespace manually using kubectl:
  $ microk8s kubectl create namespace jhub
  $ RELEASE=jhub NAMESPACE=jhub microk8s helm3 upgrade --cleanup-on-fail --install $RELEASE jupyterhub/jupyterhub --namespace $NAMESPACE --version=0.9.0 --values values.yml
  Release "jhub" does not exist. Installing it now.
  NAME: jhub
  LAST DEPLOYED: Thu Sep 10 22:18:46 2020
  NAMESPACE: jhub
  STATUS: deployed
  REVISION: 1
  TEST SUITE: None
  NOTES:
  Thank you for installing JupyterHub!
The deployments came up, but after the hub pod was stuck in PENDING state for a long time, I decided to do a kubectl describe on it. That showed me that it was still waiting for its PersistentVolumeClaim to come up.
  $ microk8s kubectl describe pod hub-766b95d6f9-vw9v4 -n jhub
  Events:
    Type     Reason            Age                  From               Message
    ----     ------            ----                 ----               -------
    Warning  FailedScheduling  81s (x5 over 5m25s)  default-scheduler  0/1 nodes are available: 1 pod has unbound immediate PersistentVolumeClaims.
The hub pod needs a PVC to store runtime metadata (like names of people who log in) in a sqlite db. A kubectl describe on the PVC showed me that it wasn't able to come up because no storage class was set! Storage classes describe the different types of storage that your Kubernetes cluster has to offer, which are usually tied to your cloud provider's storage offerings (for example: EBS on AWS).
  $ microk8s kubectl describe pvc hub-db-dir -n jhub
  Events:
    Type    Reason         Age                   From                         Message
    ----    ------         ----                  ----                         -------
    Normal  FailedBinding  41s (x26 over 6m46s)  persistentvolume-controller  no persistent volumes available for this claim and no storage class is set
I hadn't thought about storage classes on my smol laptop, but I found that you can enable a "default storage class" in microk8s.
  $ microk8s enable storage
  Enabling default storage class
  deployment.apps/hostpath-provisioner created
  storageclass.storage.k8s.io/microk8s-hostpath created
  serviceaccount/microk8s-hostpath created
  clusterrole.rbac.authorization.k8s.io/microk8s-hostpath created
  clusterrolebinding.rbac.authorization.k8s.io/microk8s-hostpath created
  Storage will be available soon
After which the PVC came up!
  $ microk8s kubectl describe pvc hub-db-dir -n jhub
  NAME         STATUS   VOLUME                                     CAPACITY   ACCESS MODES   STORAGECLASS        AGE
  hub-db-dir   Bound    pvc-11c98341-a32b-4181-9246-fdd8feb6ddc0   1Gi        RWO            microk8s-hostpath   8s
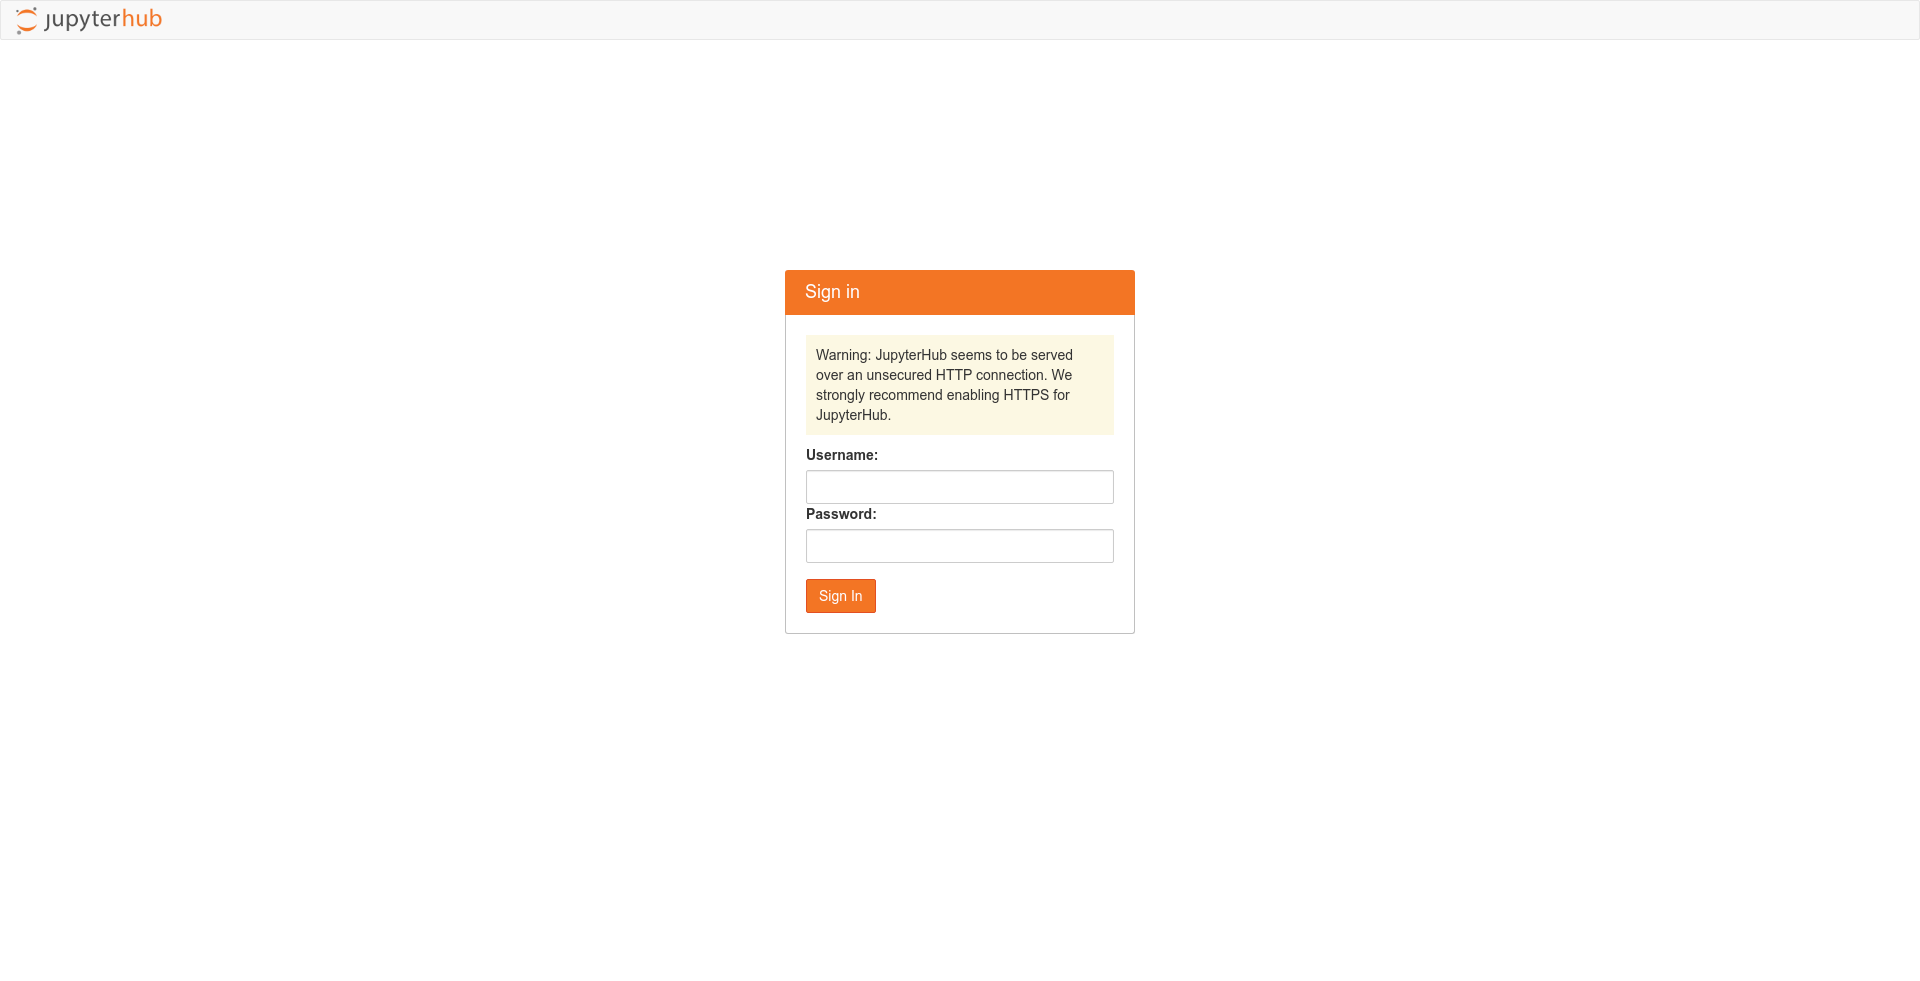
I re-ran the helm upgrade, and this time the hub pod came up nicely! When the hub was READY, I got the cluster IP for the proxy-public service:
  $ microk8s kubectl get svc -n jhub
  NAME           TYPE           CLUSTER-IP      EXTERNAL-IP   PORT(S)                      AGE
  proxy-api      ClusterIP      10.152.183.31   <none>        8001/TCP                     15m
  hub            ClusterIP      10.152.183.47   <none>        8081/TCP                     15m
  proxy-public   LoadBalancer   10.152.183.29   <pending>     443:32272/TCP,80:32012/TCP   15m
And opened it in my browser. From the hub, I was able to launch a JupyterLab server which came up in its own pod!
Finally, I teared everything down by just deleting the namespace.
$ microk8s kubectl delete namespace jhub
For Airflow, I was confused about which public helm chart to use as I'd been using my own at my last job. There were three main options: bitnami, stable, and the one by Astronomer. I also found these discussions about moving the stable chart into Airflow itself. But looks like Airflow is going to build upon the chart donated by Astronomer, and the stable chart will move into the bitnami one. The Airflow core contributors are working on releasing the "official" chart sometime soon.
  $ microk8s helm3 search hub airflow
  URL                                           CHART VERSION   APP VERSION DESCRIPTION
  https://hub.helm.sh/charts/bitnami/airflow    6.4.1           1.10.12     Apache Airflow is a platform to programmaticall...
  https://hub.helm.sh/charts/stable/airflow     7.7.0           1.10.10     Airflow is a platform to programmatically autho...
  https://hub.helm.sh/charts/larribas/airflow   1.0.1           1.10.7      [Airflow](https://airflow.apache.org/) + Kubern...
I went with the stable chart as it had the best documentation, supported the KubernetesExecutor, and also had a relatively latest Airflow version. I didn't know how to add stable to your local repos, but this GitHub comment helped me there!
  $ microk8s helm3 repo add stable https://kubernetes-charts.storage.googleapis.com/
  "stable" has been added to your repositories
After that, I updated all the repos to get the latest chart versions like before:
  $ microk8s helm3 repo update
  Hang tight while we grab the latest from your chart repositories...
  ...Successfully got an update from the "jupyterhub" chart repository
  ...Successfully got an update from the "stable" chart repository
  Update Complete. ⎈ Happy Helming!⎈
And also learned this cool trick to get the values that a chart supports, so that you can override them!
$ microk8s helm3 show values stable/airflow > values.yml
After changing the executor to KubernetesExecutor, disabling Celery workers/redis/flower, and adding my Airflow dags repo to the airflow.git.url, I went about installing the chart like before:
  $ microk8s kubectl create namespace airflow
  $ RELEASE=airflow NAMESPACE=airflow microk8s helm3 upgrade --cleanup-on-fail --install $RELEASE stable/airflow --namespace $NAMESPACE --version=7.7.0 --values values.yml
  Release "airflow" does not exist. Installing it now.
  NAME: airflow
  LAST DEPLOYED: Fri Sep 11 01:44:24 2020
  NAMESPACE: airflow
  STATUS: deployed
  REVISION: 1
  TEST SUITE: None
  NOTES:
  Congratulations. You have just deployed Apache Airflow!
The deployments came up, but the webserver and scheduler pods errored out! The webserver logs showed that I needed to set some environment variables to be set since I was using the KubernetesExecutor:
  $ microk8s kubectl logs -f pod/airflow-web-877dd9c86-w957b -c airflow-web -n airflow
  <LARGE TRACEBACK!>
  airflow.exceptions.AirflowConfigException: In kubernetes mode the following must be set in the `kubernetes` config section: `dags_volume_claim` or `dags_volume_host` or   `dags_in_image` or `git_repo and git_branch and git_dags_folder_mount_point`
With the KubernetesExecutor, you need to tell Airflow about how you want to populate the dags folder. You can (1) give in the name of the PVC which contains your dags (though you need to build a way to put dags into this PVC yourself), (2) build the dags into the Airflow docker image, or (3) put in the url for a git repo which contains your dags (from where Airflow will sync your dags periodically). Since I wanted to use the third method, I set the following in the airflow.config section of my values.yml.
  AIRFLOW__KUBERNETES__GIT_REPO: "https://github.com/vinayak-mehta/airflow-dags.git"
  AIRFLOW__KUBERNETES__GIT_BRANCH: "master"
  AIRFLOW__KUBERNETES__GIT_DAGS_FOLDER_MOUNT_POINT: "/opt/airflow/dags"
I re-ran the helm upgrade but the webserver and scheduler pods errored out again!
  $ microk8s kubectl logs -f pod/airflow-web-877dd9c86-w957b -c airflow-web -n airflow
  <LARGE TRACEBACK!>
  sqlalchemy.exc.OperationalError: (psycopg2.OperationalError) could not translate host name "airflow-postgresql" to address: Temporary failure in name resolution
Like JupyterHub, Airflow needs to store runtime metadata in a database. The chart brought up a Postgres deployment for the metadata database, but the webserver and scheduler weren't able to connect to it because of the DNS not resolving! After some searching, I found that you can enable DNS within the microk8s cluster with:
  $ microk8s enable dns
  Enabling DNS
  Applying manifest
  serviceaccount/coredns created
  configmap/coredns created
  deployment.apps/coredns created
  service/kube-dns created
  clusterrole.rbac.authorization.k8s.io/coredns created
  clusterrolebinding.rbac.authorization.k8s.io/coredns created
  Restarting kubelet
  DNS is enabled
I re-ran the helm upgrade and this time everything worked perfectly! After the webserver was READY, I got the cluster IP for the associated service, and opened it in my browser:
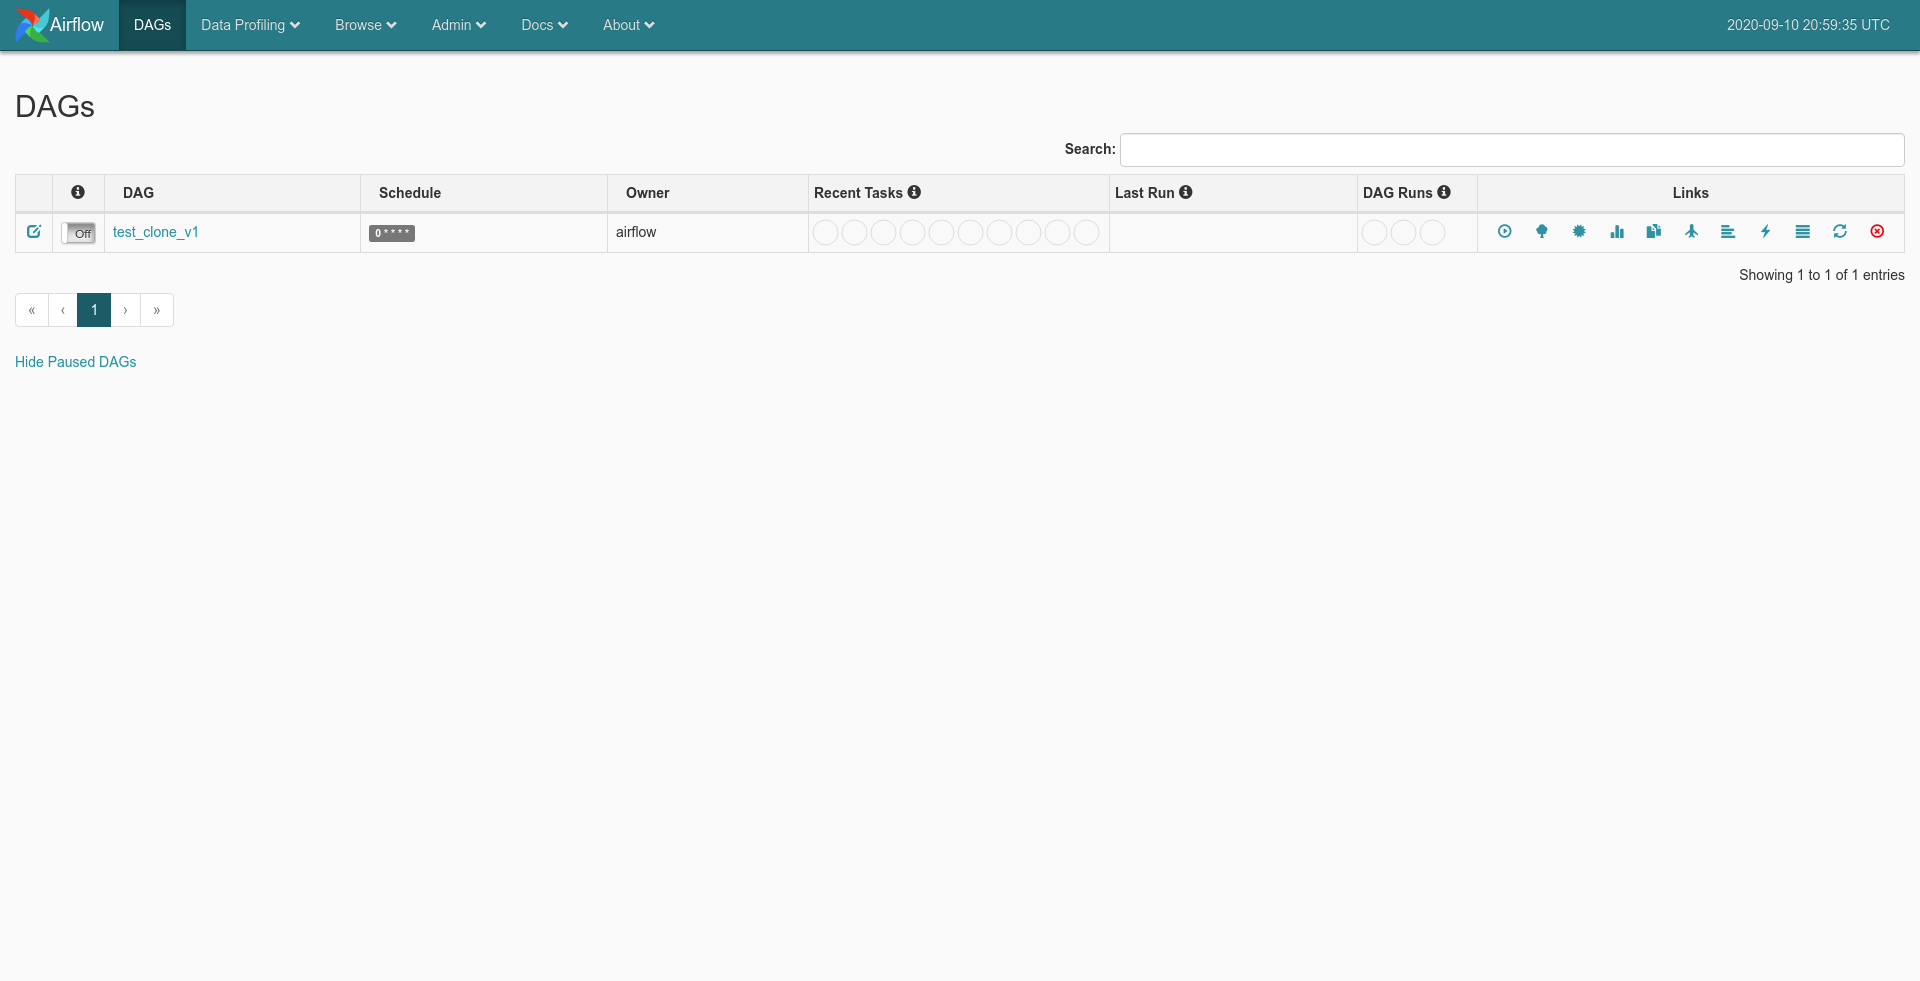
And at the end, I teared everything down by deleting the namespace again.
$ microk8s kubectl delete namespace airflow
Now I just need to set up some other glue for the demo to work! The microk8s experience was great! I could see every addon I'd enabled (and could enable) using:
  $ microk8s status
  microk8s is running
  high-availability: no
    datastore master nodes: 127.0.0.1:19001
    datastore standby nodes: none
  addons:
    enabled:
      dns                  # CoreDNS
      ha-cluster           # Configure high availability on the current node
      helm3                # Helm 3 - Kubernetes package manager
      metrics-server       # K8s Metrics Server for API access to service metrics
      storage              # Storage class; allocates storage from host directory
    disabled:
      ambassador           # Ambassador API Gateway and Ingress
      cilium               # SDN, fast with full network policy
      dashboard            # The Kubernetes dashboard
      fluentd              # Elasticsearch-Fluentd-Kibana logging and monitoring
      gpu                  # Automatic enablement of Nvidia CUDA
      helm                 # Helm 2 - the package manager for Kubernetes
      host-access          # Allow Pods connecting to Host services smoothly
      ingress              # Ingress controller for external access
      istio                # Core Istio service mesh services
      jaeger               # Kubernetes Jaeger operator with its simple config
      knative              # The Knative framework on Kubernetes.
      kubeflow             # Kubeflow for easy ML deployments
      linkerd              # Linkerd is a service mesh for Kubernetes and other frameworks
      metallb              # Loadbalancer for your Kubernetes cluster
      multus               # Multus CNI enables attaching multiple network interfaces to pods
      prometheus           # Prometheus operator for monitoring and logging
      rbac                 # Role-Based Access Control for authorisation
      registry             # Private image registry exposed on localhost:32000
When I was done, I stopped microk8s using:
  $ microk8s stop
  Stopped.
After the microk8s adventures, I continued my quest (of using Javascript and Python to execute a function written in C) from yesterday! I followed along the "Interacting with code" section of the emscripten docs.
I found that you can import emscripten.h and add a EMSCRIPTEN_KEEPALIVE above your function to let the compiler know that you it to be accessible from the compiled WASM binary, so that you can invoke the C function from Javascript. The syntax looks similar to decorators in Python!
  #include <stdio.h>
  #include <emscripten.h>

  EMSCRIPTEN_KEEPALIVE
  int add(int a, int b) {
      return a + b;
  }
And then you can compile the C code into Javascript with:
$ emcc add.c -o add.js -s MODULARIZE -s EXPORTED_RUNTIME_METHODS='["ccall", "cwrap"]'
The MODULARIZE option makes emcc emit code in a modular format that is easy to import and use with require(): require() of the module returns a factory function that can instantiate the compiled code, returning a Promise to tell us when it is ready, and giving us the instance of the module as a parameter.
The EXPORTED_RUNTIME_METHODS tells the compiler that you want to use the runtime methods ccall and cwrap to invoke the C function from Javascript with Module.ccall('add', ...) (otherwise, it will not include them).
After I had the add.wasm and add.js, I was able to create an index.js and execute it using node index.js:
  const factory = require('./add.js');

  factory().then((instance) => {
      console.log(instance._add(1, 2));
  });
But these steps generated a verbose add.js which I had to require (and use node with) in order to execute the C functions exported by the WASM binary. Ideally, I would want something simpler (like Rust examples from earlier) where I can execute the exported functions from plain Javascript. I also found out that wasmer-python does not support WASM binaries compiled by emscripten yet.
The issue led me to a C to WASM example in the wasmer-python repo which uses something called wasienv to compile C code to a WASM binary. It gives you wasmcc to do that. Strangely, wasmcc couldn't compile the C example from above (after removing the emscripten import):
  $ wasmcc add.c -o add.wasm
  add.c:1:10: fatal error: 'stdio.h' file not found
  #include <stdio.h>
           ^~~~~~~~~
  1 error generated.
Why did it fail though? Isn't stdio.h one of the standard header files in C? Maybe it's available only when you use gcc. The code compiled fine after I removed the stdio.h import, and I was able to call the generated WASM binary from Python.
  import os
  from wasmer import Store, Module, Instance

  __dir__ = os.path.dirname(os.path.realpath(__file__))

  module = Module(Store(), open(__dir__ + '/add.wasm', 'rb').read())
  instance = Instance(module)

  result = instance.exports.add(1, 2)

  print(result)
  $ python add.py
  3
I think this add.wasm should work with plain Javascript too.